Wireless thermostats are one of the easiest ways to modernise a central-heating system. Whether you’re installing something like a Hive thermostat, tado° system, Ideal Halo RF control, or a manufacturer’s wireless thermostat, the process usually involves fitting a small receiver near the boiler and pairing it with the thermostat.
In many homes, it’s a straightforward job — but because it involves electrical connections inside the boiler control area, it’s also something that can go wrong quickly if you’re unsure what you’re looking at.
At Boilers2go, we always say this: If you’re confident with electrical work, take your time and follow the manual carefully. If you’re not, get an engineer to install it.
A professional install normally costs far less than fixing wiring mistakes later.
How wireless thermostats connect to boilers
Wireless thermostats don’t usually connect directly to the thermostat location in the room. Instead, they use a receiver wired to the boiler, which then communicates wirelessly with the thermostat.
That receiver connects to the boiler using one of three common control types.
Relay (on/off) connections
This is the most common thermostat wiring setup in UK homes.
The thermostat simply tells the boiler to turn on or off when heat is needed. You’ll usually see terminals labelled things like:
RT, COM/NO, Room Stat, or T1/T2.
These are normally control terminals rather than mains power, but you should always confirm using the boiler manual before touching any wiring.
OpenTherm connections
OpenTherm is a communication system that allows the thermostat and boiler to work together more intelligently.
Instead of the boiler switching fully on and off, it can adjust output gradually to maintain room temperature. This helps radiators heat more evenly and can improve efficiency.
OpenTherm terminals are usually labelled OT or OpenTherm and use two low-voltage wires.
eBUS connections
Some manufacturers use their own communication system instead of OpenTherm. This is known as eBUS and is common on boilers from brands like Vaillant, Glow-worm, and Worcester Bosch.
Like OpenTherm, it allows better control of boiler output and heating performance.
These terminals are also low-voltage communication connections.
The most important safety step
Before doing anything, switch the boiler off at the fused spur and isolate power at the consumer unit if possible.
Then confirm power is off using a tester.
This step matters more than anything else in the process.
Many boilers contain both mains wiring and low-voltage control wiring, and mixing them up can damage the boiler or create a safety risk.
If you can’t confidently identify which terminals are which, stop and call an engineer.
Where installation problems usually happen
Most thermostat installation issues aren’t complicated — they’re small mistakes that cause big headaches.
Common ones include:
-
connecting wires to the wrong terminals
-
leaving the factory link wire in place
-
loose wiring connections
-
wiring mains voltage into control terminals
-
installing the receiver where wireless signal is weak
These mistakes can stop the boiler responding to the thermostat or, in worse cases, damage the control board.
That’s why even experienced installers double-check boiler wiring diagrams.
Typical wireless thermostat installation process
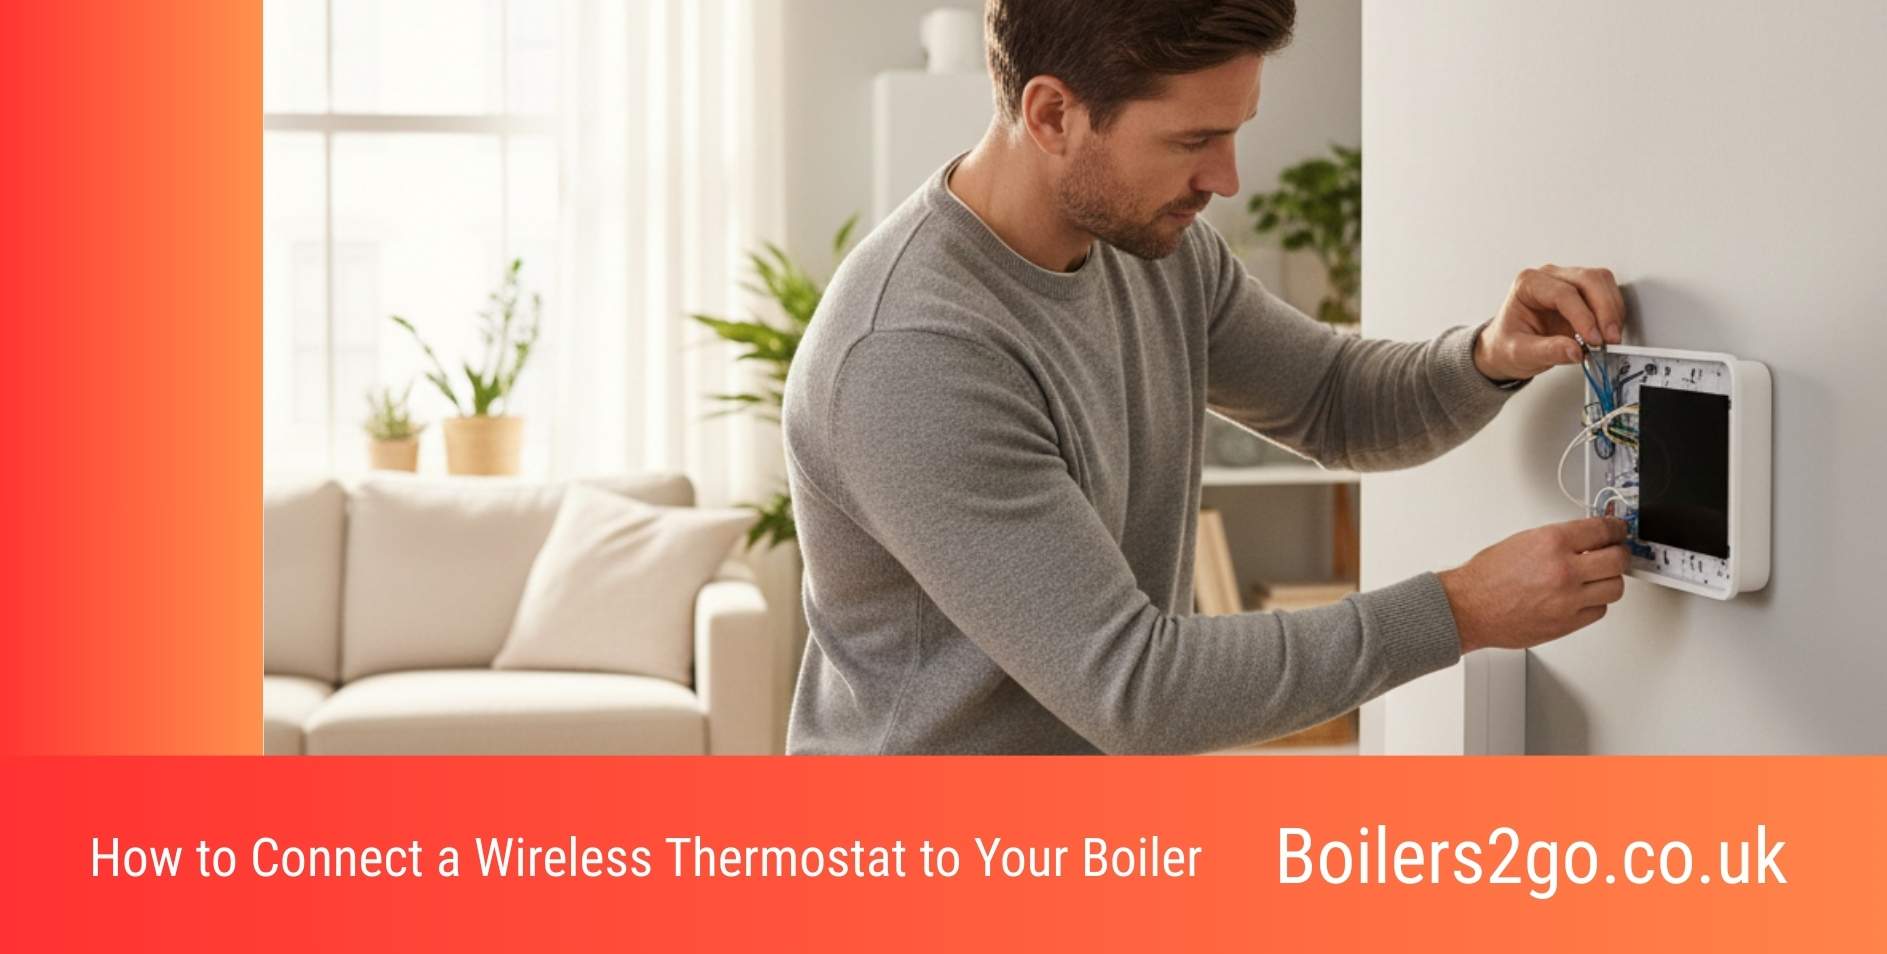
Once power is safely isolated, the receiver is wired to the correct boiler terminals and mounted near the boiler.
The thermostat is then mounted on an internal wall — usually in the living room — around 1.5 metres above floor level.
After restoring power, the thermostat is paired with the receiver using the manufacturer’s setup instructions.
Finally, you test the system by increasing the temperature and checking that the boiler fires correctly.
If something doesn’t behave as expected, power should be switched off again and the wiring checked.
When it’s better to use an engineer
If you’ve installed a light fitting or socket before, you might feel comfortable installing a thermostat receiver.
But if you’re unsure about boiler wiring, it’s best to get professional help.
You should strongly consider using an engineer if:
-
the receiver needs a 230V mains connection
-
you’re unsure which boiler terminals to use
-
the system includes a hot-water cylinder
-
you’re installing smart zoning controls
-
the boiler manual isn’t clear
A typical wireless thermostat installation usually costs around £100–£200, which is often worth it for peace of mind.
At Boilers2go, we regularly see systems where the thermostat installation took longer to fix than it would have taken to install properly in the first place.
Boilers2go advice
Wireless thermostats are a great upgrade for most UK heating systems, but installation should never feel rushed.
Take your time, follow the wiring diagram carefully, and don’t guess connections.
If anything looks unfamiliar, getting an engineer involved is the safest option.
Once installed correctly, the thermostat will help your boiler, radiators, and central-heating system run more smoothly and efficiently.
The bottom line
Installing a wireless thermostat isn’t usually complicated, but it does involve working around boiler electrics.
The safest approach is simple:
If you’re confident — follow the manual carefully.
If you’re not — call an engineer.
Either way, getting the thermostat connected properly ensures your heating system works exactly as it should.
I’m Penny North, a home energy heating expert. My mission is to demystify new boilers and complex heating systems to help you achieve a warm, cosy home with lower energy bills and a smaller environmental footprint.