

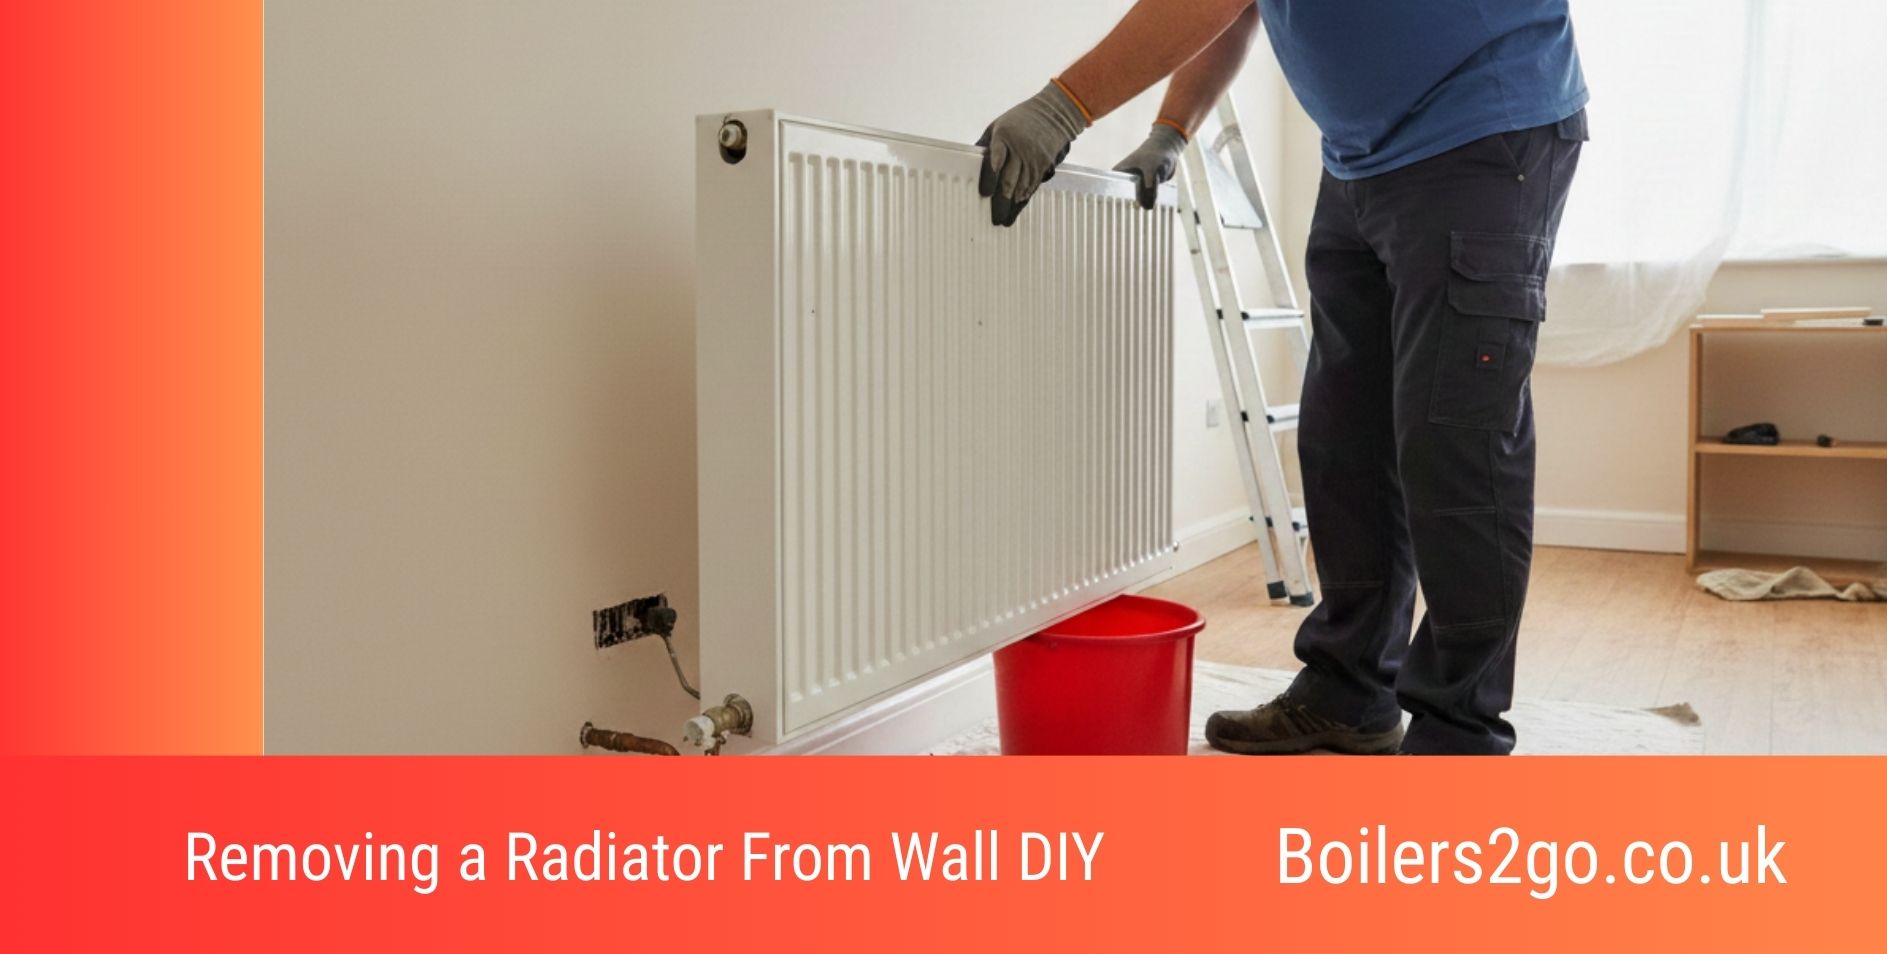
Taking a radiator off the wall sounds terrifying the first time you do it.
Images of water everywhere, ruined carpets, and emergency plumber call-outs tend to come to mind.
The reality?
Most radiator removals for decorating are straightforward, as long as you follow a few calm, deliberate steps — and know what not to do.
This guide walks you through:
-
Refitting a radiator after decorating
-
Permanently removing a radiator and capping the pipes
-
The most common DIY mistakes (and how to avoid them)
-
What to do if a valve leaks afterward
No plumbing heroics required.
Before Removing a Radiator: What to Know
If you’re only removing a radiator temporarily to paint, plaster or paper:
-
You do not need to drain the whole system
-
You are not touching the boiler
-
You’re just isolating that one radiator
If you’re removing a radiator permanently:
-
Pipes must be capped properly
-
The system must be repressurised and checked
The steps are similar — the end goal is different.
How to Refit a Radiator After Decorating
Refitting is simply the reverse of removal, but rushing this part is where most leaks happen.
Tools Needed to Refit a Radiator
Nothing exotic:
-
Radiator bleed key
-
Two adjustable spanners
-
Old towels and a shallow tray or bowl
-
Cardboard or a blanket to protect floors
Step 1: Get the Radiator Ready
Lay the radiator flat on something soft, valves facing upwards.
This prevents any leftover water escaping while you manoeuvre it.
Quickly wipe:
-
Valve threads
-
Union nuts
-
The wall brackets
Dust and grit can stop seals seating properly.
Step 2: Hang the Radiator Back on the Brackets
Lift the radiator onto the wall brackets and make sure it’s seated properly before touching the valves.
If it doesn’t sit naturally:
-
Don’t force it
-
Adjust the brackets first
Misalignment is a classic cause of slow leaks later.
Step 3: Reconnect the Valves (Snug, Not Aggressive)
Line up the valve tails with the radiator inlets and hand-tighten the union nuts first.
Then use a spanner to tighten them just enough to feel firm.
Over-tightening damages seals — tighter is not safer here.
Step 4: Open the Valves and Bleed the Radiator
Open both radiator valves slowly to let water back in.
Then:
-
Place a towel and tray under the bleed valve
-
Open it gently until air hisses out
-
Close it once water flows steadily
This step matters — trapped air can make the radiator feel “dead” even when everything else is fine.
Step 5: Turn the Heating On and Check for Leaks
Turn the heating back on and let the radiator warm up.
Check:
-
Both valve unions
-
The bleed valve
Then check again after 10–15 minutes.
Tiny leaks often only show once the system is hot and pressurised.
How to Remove a Radiator Permanently and Cap the Pipes
If the radiator isn’t coming back, the goal changes: seal the system safely. If you’re only removing it because the room is rarely used, read our guide on whether to turn radiators off or down first, as simply closing the valves may be enough.
Tools Needed to Remove a Radiator Permanently
-
Pipe caps or stop-ends
-
Adjustable spanner
-
Pipe cutter (only if removing pipe sections)
Step 1: Isolate and Drain the Radiator
-
Turn off the heating
-
Close both valves fully
-
Bleed the radiator to release pressure
-
Loosen one union nut slowly and drain the water
Take your time — rushing causes mess.
Step 2: Remove the Radiator From the Wall
Once drained, undo both union nuts fully and lift the radiator off the wall.
Expect some residual water — this is normal.
Step 3: Cap the Pipes
You have two options:
Keeping pipes accessible
-
Fit pipe caps or stop-ends onto the valve outlets
-
Tighten firmly but carefully
Removing pipework entirely
-
Pipes are cut and capped under floors or inside walls
-
This is usually a plumber’s job
Never leave open pipes “temporarily” — they will leak.
Step 4: Repressurise and Test
If any water was lost:
-
Top up the system via the boiler filling loop
-
Bleed radiators if needed
Then check:
-
Capped ends
-
Boiler pressure gauge
If pressure drops again, stop and investigate.
Common DIY Radiator Removal Mistakes to Avoid
Leaving the heating on
This can release hot water under pressure. Always cool the system first.
Over-tightening union nuts
This damages seals and causes slow leaks later.
Skipping bleeding
Air locks are why refitted radiators “don’t work”.
Not checking again once hot
Heat expands metal — leaks often show later, not immediately.
What If a Radiator Valve Leaks After Removal or Refitting?
Don’t panic — most leaks are fixable.
-
Tiny drip: Try tightening the union nut a fraction
-
Persistent leak: The valve seal may be damaged
-
Permanent removal: Cap the pipe instead of relying on old valves
If water keeps appearing, stop and call a heating engineer. A slow leak can cause serious damage over time.
When Should You Call a Professional to Remove a Radiator?
It’s sensible — not weak — to get help if:
-
A valve won’t fully close
-
Pipes are corroded or seized
-
Pressure keeps dropping
-
You’re removing multiple radiators or pipe runs
A short call-out is cheaper than repairing floors or ceilings.
Removing a Radiator: The Key Takeaway
Removing and refitting a radiator isn’t about strength or tools — it’s about patience.
Slow movements
Gentle tightening
Double-checking once hot
Do that, and this job goes from “stressful” to “why was I worried?”

With years of experience in boilers and home improvements in general, Myles Robinson is a passionate advocate for making home heating simpler, safer, and more affordable for households across the UK. With years of experience in the heating industry, Myles combines hands-on knowledge with a focus on customer-first service, helping homeowners choose the right boiler, understand their systems, and keep their heating running efficiently all year round. His articles break down complex topics into clear, practical advice you can trust.